Having the bucket and the tilt base done, next is the base of the enclosure and the sensor base.
For the base I used a 10x15cm pine board (I have more in stock). There I build two raisers for the bucket assembly, so there is room bellow for the water drainage. the drainage is done with two holes on the board and a bamboo wall to prevent any water to spill around.
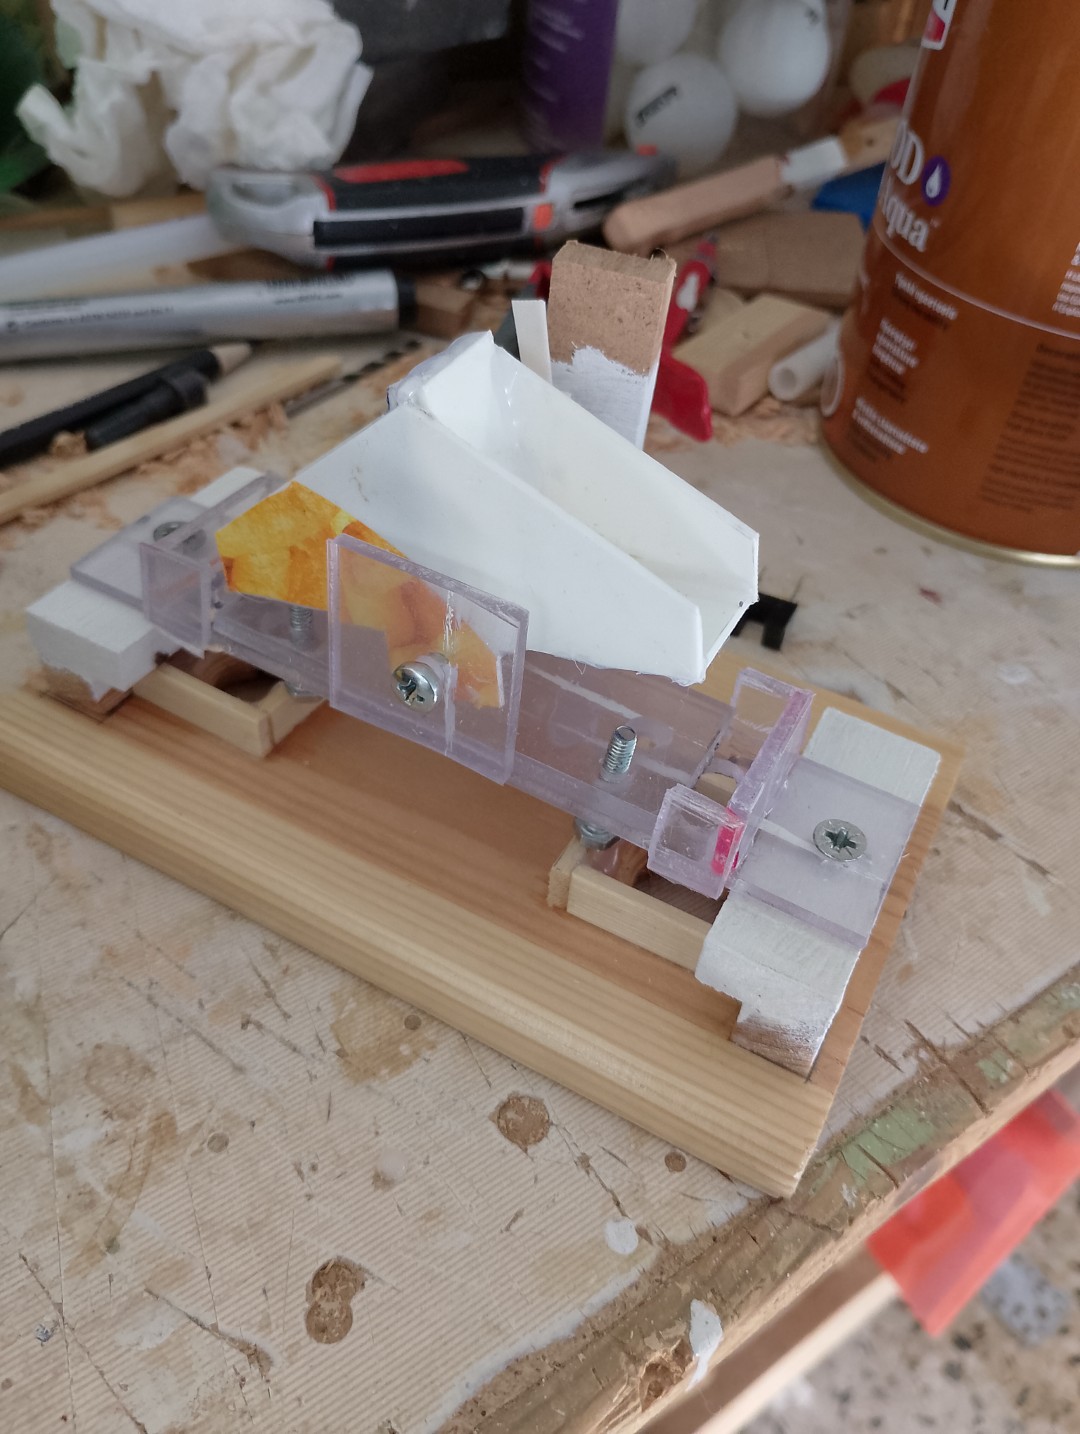
Might seem not very water resistant, but living in an area with max daily rain 27mm (at least the last two years) will be OK. I have primed any MDF parts and done 3 coats of polyurethane the solid wood parts. Having around 2-3 days of rain over 20mm per year, I don think there will be any issues with the moisture in the electronics or decay in the wooden parts.
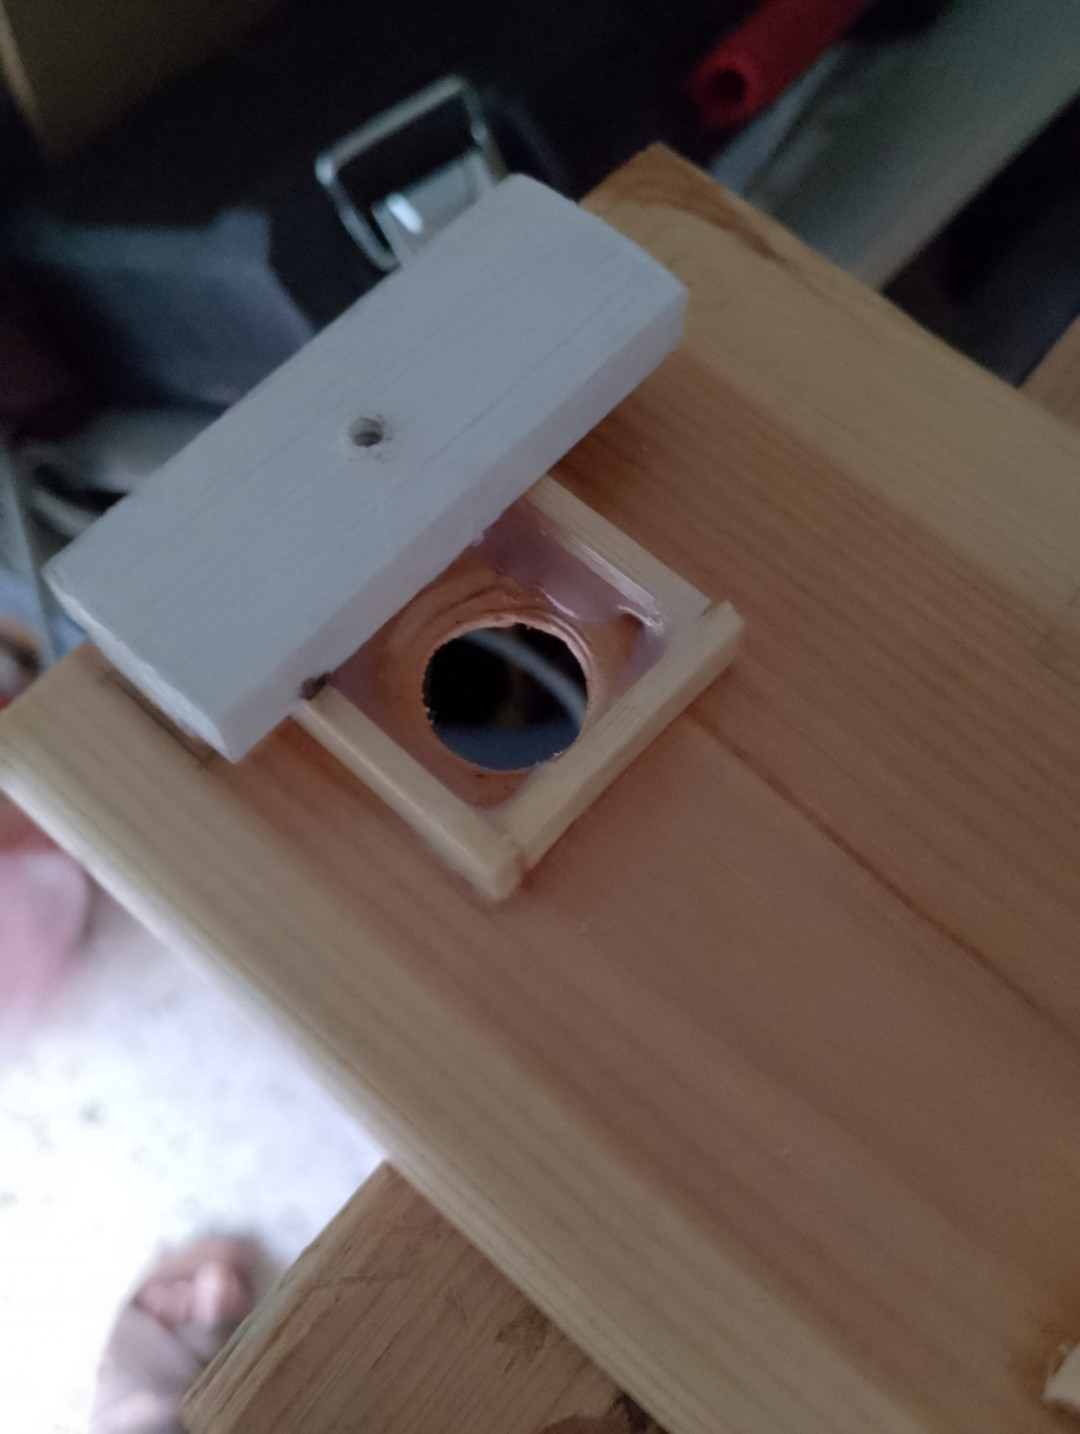
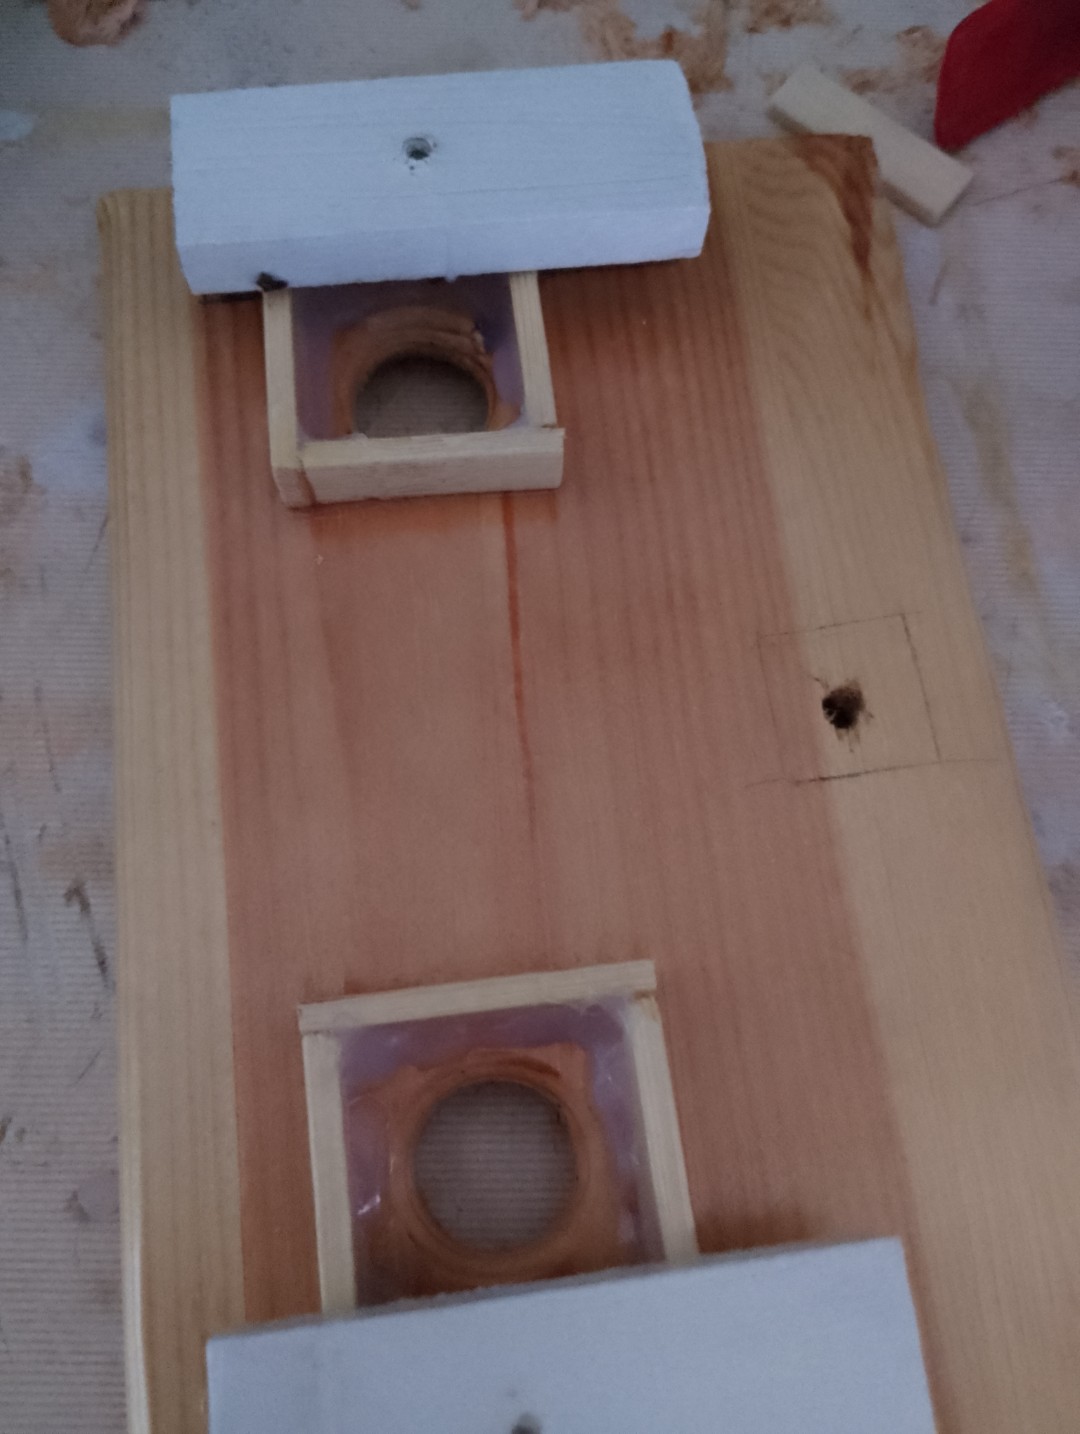
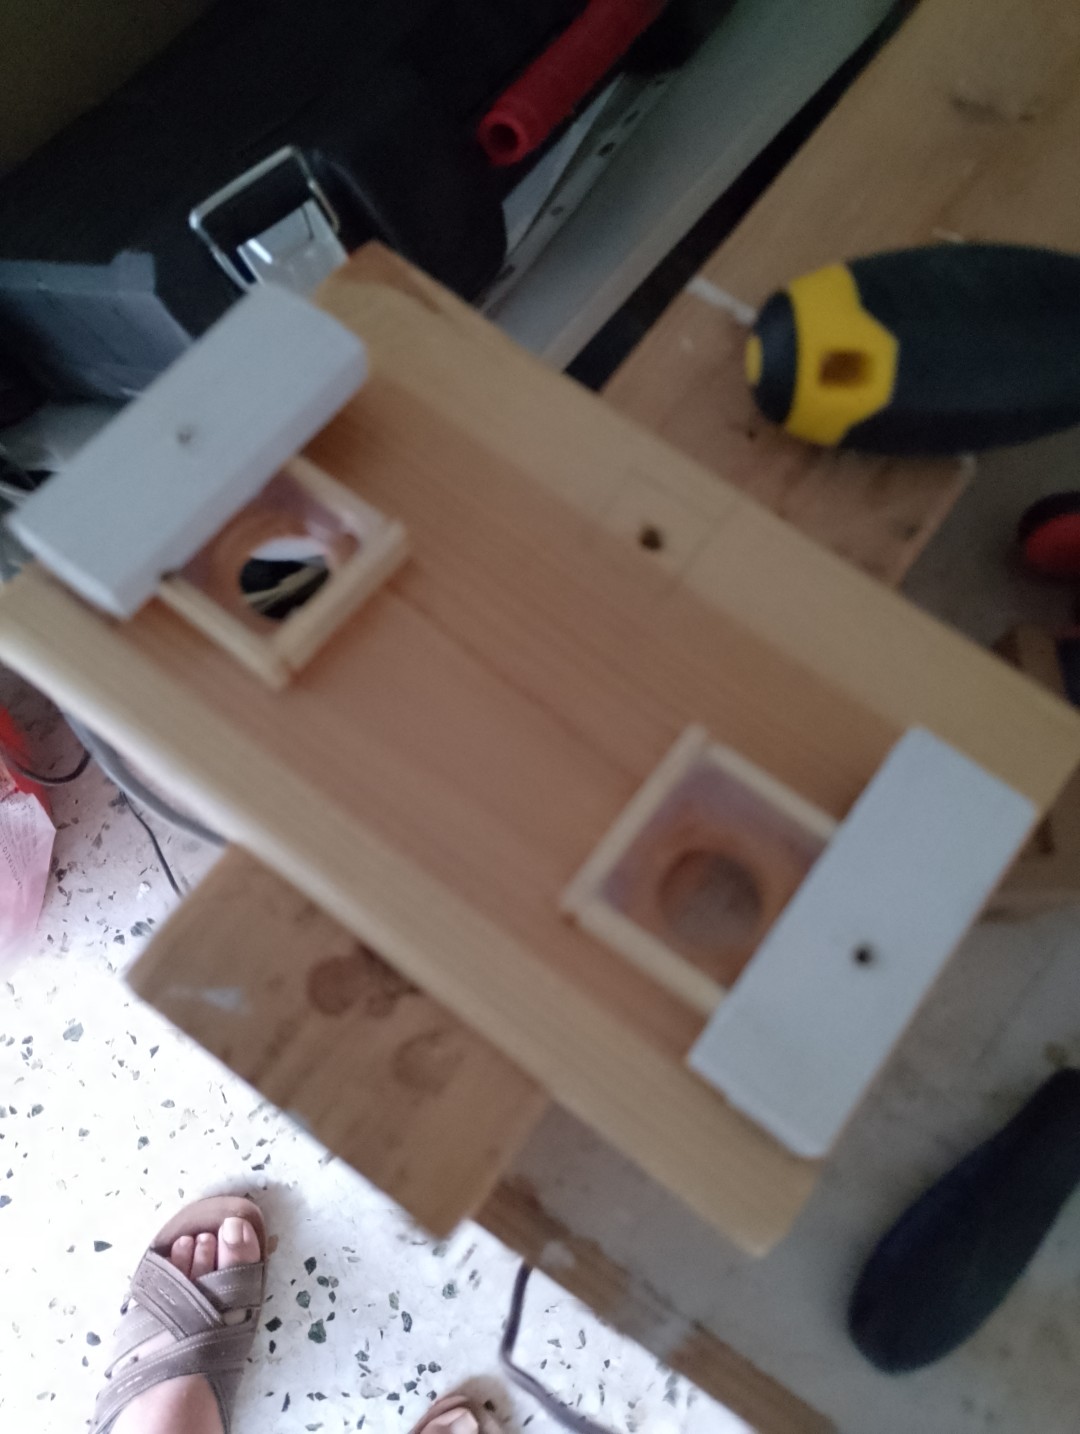
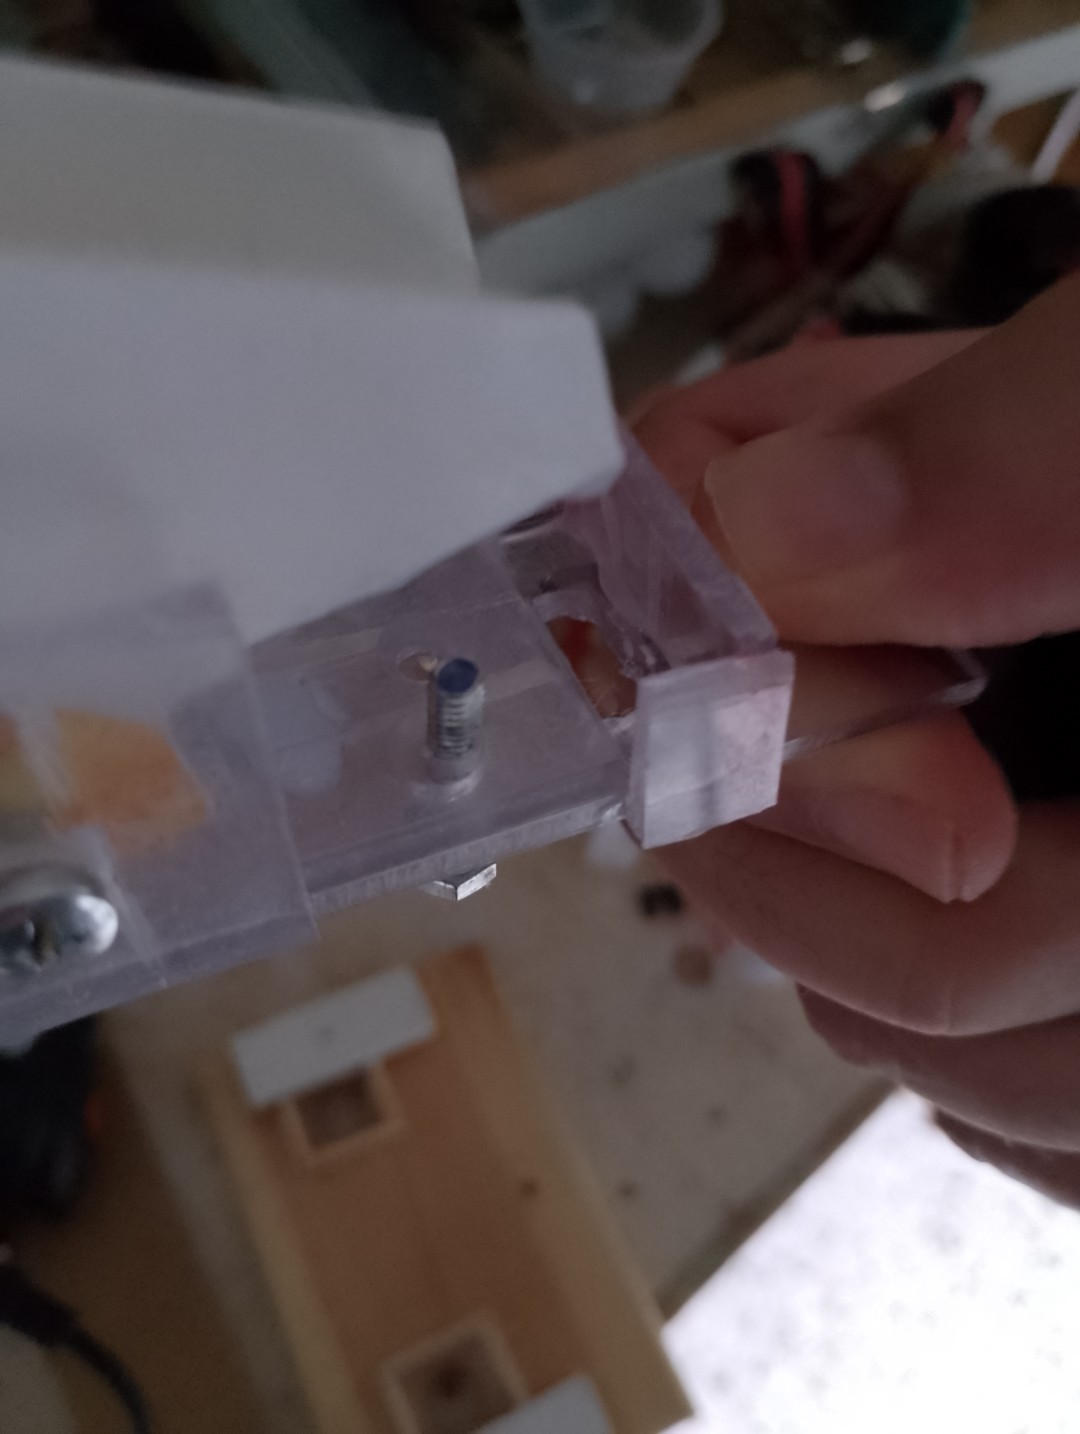
Detail of the gauge, I added some blockage pieces to stop water from spilling outside the drainage hole.
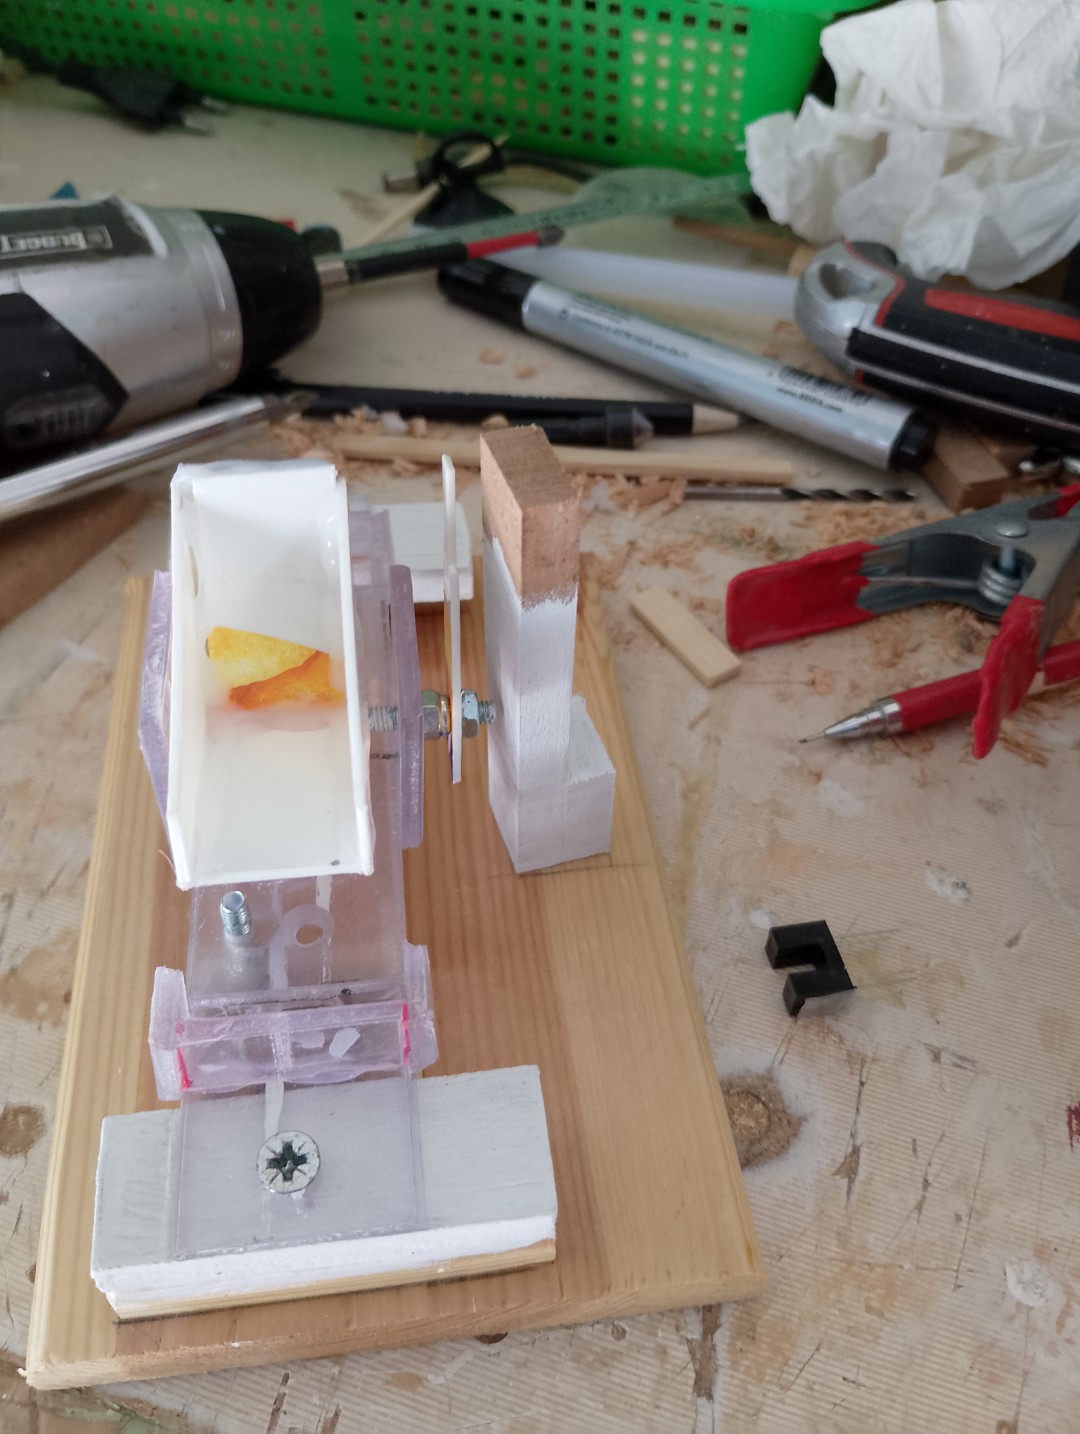
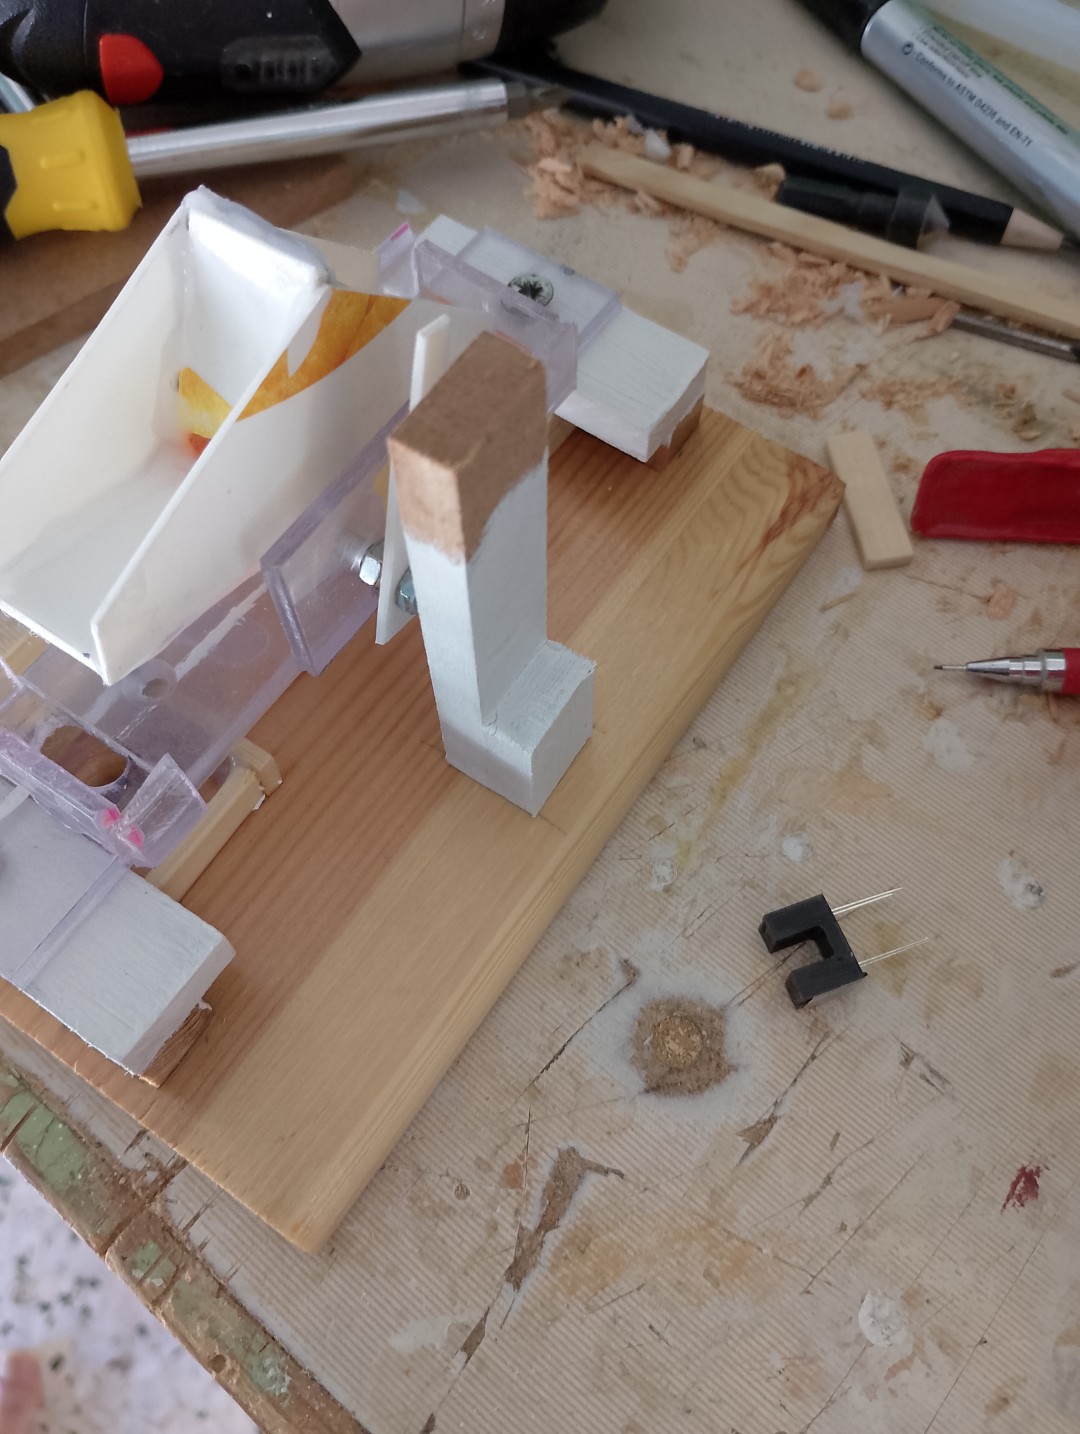
Typically this type of gauges use a magnet and a Hall effect switch. Parts I don’t have and also there is a difficulty to read correctly the Reed switch. My idea for the sensor is to use an IR module I have in hand and replace the IR LED and the IR resistor of the module with the photo interrupter sensor LTH-301-07. On the tilting axle of the bucket, add a rod to interrupt the IR switch and in the ESP I can use the circuitPython Keys library to count the “clicks”. I used the same method in the anemometer and worked fine.
Next step is to build the short sides and the top that will hold the funnel. The plan for the large sides is to use that acrylic I have to make them transparent so I can watch the bucket working.
